Become a Member for as little as $4/mo and enjoy unlimited reading of TSLL blog.
Croissants and France.
It is nearly impossible to think about one without thinking about the other. And while the history of where the croissant originated is debatable (did it actually originate in Austria in the 17th century?), the understood and agreed upon truth is that a croissant is absolutely scrumptious and made with ample amounts of butter.
If you have been following TSLL on Instagram, you know that for many Sunday mornings, a croissant picked up at a local bakery in Bend is often my weekly treat. However, each time I return to France (most recently this past summer – 2018), when I bite into a croissant while either sitting at a cafe in Paris or welcoming home a croissant to enjoy as I greet the day in my vacation rental, the difference is immediately apparent – the French simply know how to make croissants like nobody else.
French croissants need not be large, and the flaky, buttery layers that open up to reveal a warm, buttery soft, but a little chewy inside, creates a magnificent symphony for the tastebuds. Needing no extra sugar to keep the American palette returning as I find some bakeries choose to do, these quintessential French pastries are perfect just as they are with the simple ingredients of flour, butter, a little bit of milk, yeast (the bit of sugar in the recipe feeds the yeast) and that is it.
Having always enjoyed waking up on a Sunday or during the winter holidays and nibbling on a warm from the oven croissant, I have in the past found frozen croissants and kept them in my freezer, placed however many I needed for the next morning out on the counter the night before or in the refrigerator so that I could bake them in the morning. However, it wasn’t until this weekend that I have made my own croissants.
Inspired by watching Baking with Julia on PBS, it is during the show’s second season, episode #1 with French baker Esther McManus that viewers have the opportunity to see the making of the croissants (if you are a PBS subscriber/member, you can view this video for free here with your PBS Passport; you can also view the full video in two parts here and here on YouTube). It is this visual teaching that made all the difference for me (you can view the recipe in Julia Child’s cookbook Baking with Julia as well). I have transcribed the recipe as she shares it on the show, added my own notations that helped me along the way and included my own adaptions for freezing the croissants I don’t need immediately.
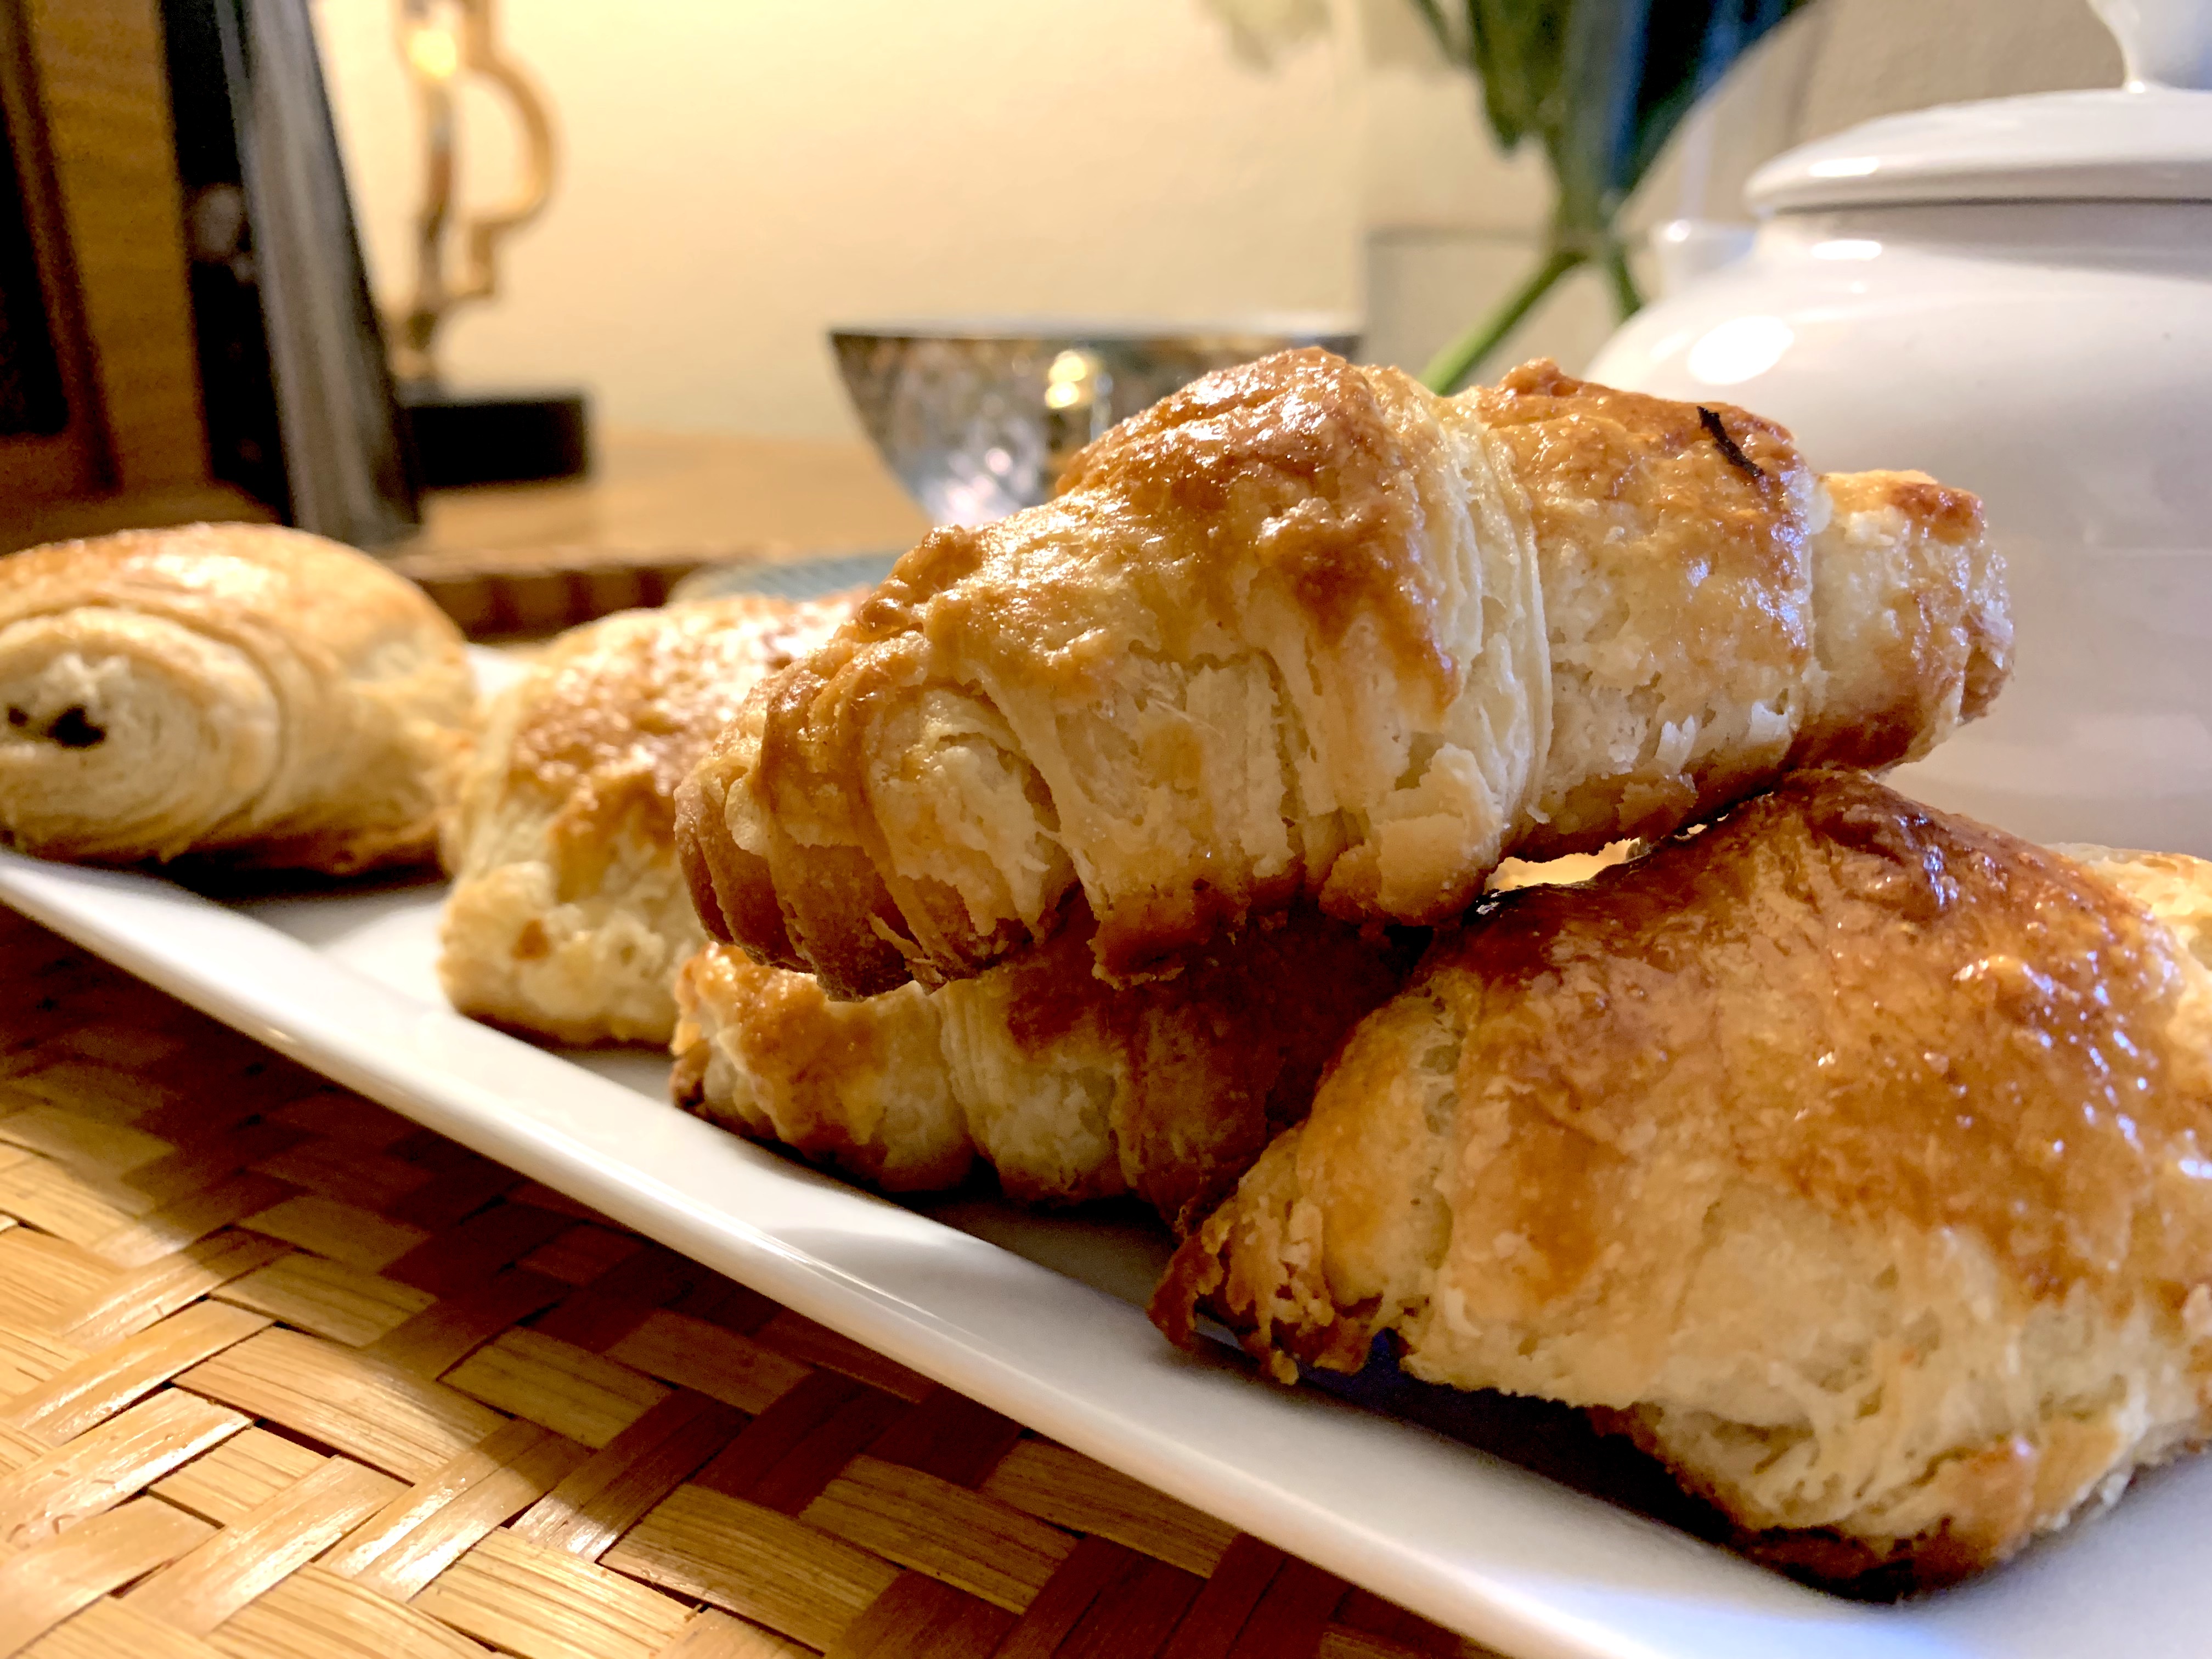
The beauty of a croissant recipe is that you can add any filling you want if you wish – almond, chocolate, etc. I do love a Pain au Chocolat every once in a while for a chocolate treat, so I split the recipe in half and made 12 traditional croissants and 12 pain au chocolats.
While the recipe takes time – a good 36 hours from start to warm-out-of-the-oven finish – the recipe is very simple and is certain to give you the flaky, buttery French croissant you remember during your last visit to France. As I share in my pictures below, I made small traditional croissants and standard pain au chocolat. As you make them yourself, you can decide the size you prefer best. Since the recipe is simple, the quality of the ingredients matter immensely. Starting with the butter (my favorite is shared here along with six other ranked in order with tasting notes), don’t skimp on the milk – keep it whole milk and choose quality flour as well – I prefer Bob’s Red Mill Artisan Bread Flour, but King Arthur’s All-Purpose comes highly recommended by baking critics and trusted bakers.
Needless to say, I am tickled with the result, and with now twenty croissants in my freezer, I look forward to enjoying a warm croissant hot out of my oven for many weeks to come, as well as being able to have something scrumptious for weekend guests of family and friends who visit me here in Bend. With each batch I know I will improve upon what I learned my first go-round, but with a recipe like this one, it is hard to go wrong.
The recipe is shared below, and look for this recipe to potentially be included in the upcoming second season of The Simply Luxurious Kitchen which will premiere September 2019. Wishing you a delicious morning with your next croissant and may it transport you to the cobbled streets of Paris. Bonne journée!


French Croissants & Pain au Chocolat
Ingredients
Pastry Dough Ball
- 3 3/4 cups flour Bob's Red Mill Artisan Bread is my choice
- 1 packet dry, active yeast
- 2 teaspoons salt
- 1/3 cup sugar
- 1 1/2 cup whole milk you will need 1 cup most definitely and perhaps more depending upon the consistency of the dough
Butter Ball
- 1 pound unsalted butter the best quality you can afford/find - my favorite is Isigny Ste. Mère Beurre
- 2 tablespoons flour
Additional
- 3 ounces dark chocolate the best quality you can find - I use Belgium or Scharffen Berger (from San Fran)
- 1 egg for egg washing the croissants
Instructions
Pastry Dough
- In a mixer with dough attachment, mix at a low speed 3 3/4 cups flour, the yeast, salt, sugar and 1 cup whole milk (reserve 1/2 if needed - if dough is too dry). Mix until the bowl looks clean and all of the flour is incorporated. If the dough is too dry, you may add a little of milk at a time.
- Once the pastry dough is in a ball, remove from the mixer, wrap in plastic wrap. First, set it aside on the counter to rest for 30 minutes, and then place in the refrigerator for 8 hours or overnight. I have left it in for 12-14 hours and that is just fine. This part of the recipe should be done at least a day before you want the croissants.
Combining the pastry dough and the butter.
- Day of baking (after dough has been in the fridge for at least 8 hours): Roll out the pastry dough on a floured surface to approximately 18 inches in length and 10 inches in width. Using a box grater, grate the butter into large shreds (butter should be chilled). This will make it easier to roll out and preserve the dough. Sprinkle all of the butter down the middle of the dough, from the very end to the very top (but only in the middle third). Then, fold length-wise, the dough over the butter. You will have two layers of dough on top of the butter - a tri-fold.

- Roll the dough a bit more to make sure the butter reaches near the end of the dough edges.

- Place the dough (with the butter now incorporated) onto parchment paper on a sheet pan, cover with plastic wrap and place in the refrigerator for 30 minutes.
- The layering process continues! Remove from the refrigerator and roll out the dough to a large rectangle - approximately 24 inches by 18 inches. Then fold into thirds - one third on top of the other - similar to a letter folded so that it can fit in a business envelope. Place back onto the parchment which is on the sheet pan, wrap with plastic wrap and set aside for 15 minutes.


- After 15 minutes, roll out the dough again (floured surface), fold the tri-fold again. Wrap again as before, and set aside again in the refrigerator for 15 minutes


- After the hour has passed, roll out the dough again and this time make a double fold: four layers. Find the center like and fold both edges to that center line and then fold one side on top of the other. Place the dough on the parchment, cover with plastic wrap and set aside in the refrigerator for 15 minutes.

- Now to make the croissants! Cut the dough into half (you don't have to, but it makes it easier to roll out).

- On a floured, preferrably cool surface, roll out the dough - 24 x 20 inches approximately. Fold in half length-wise. Using a pizza cutter or knife, cut triangles. Open up the fold and separate the necessary triangles that are attached.


- Take each triangle, one at a time, and holding with all fingers the top of the triangle with a firm grip, slide your fingers from the middle to the end to stretch the dough. Be gentle, but firm. The triangle should double in length.


- Place the triangle on the flat surface, place a small ball of extra dough at the top of the triangle to add bulk, then begin to roll the triangle to create the crescent. Finish rolling and create an arch with the narrowest point facing you and rolled down inside the crescent. Complete this for each of the traditional croissants. (If you would like to add any preferred filling, instead of the extra dough mentioned above, you can place the almond filling, etc. there.)
- For Pain au Chocolat, take the second half of the dough and instead of triangles, make rectangles. Place the doculate - about 2 ounces on the end where you will begin rolling. Roll up to the end and keep the end underneath, to rest on the bottom of the croissant.


- Note: If you will be freezing some or all of the croissants, now is when you would place them into a freezer bag or storage container: After roll ping the croissants, before proofing them, I place them in a freezer storage container, separating each layer of rows (so they don’t stick together) with parchment.
- For the croissants you will be baking: If you have a proofing oven, you will use this now. If you do not have a proofing oven (I do not), while you are rolling the croissants, heat up the oven as you would to bake (350 degrees). As soon as it reaches the temperature, turn off the stove (or simply set your stove to 80 degrees or the lowest it will go - 90 or 100). Place the croissants on a baking sheet lined with parchment, wash each croissant with egg wash (this is optional - so long as you do so when you bake them, this second wash isn't necessary. Place in the oven (the oven is off, but warm) for 2-3 hours. They are proofed when they have expanded but have not begun to deflate.
- Remove from the oven, wash again with egg wash. Preheat the oven to 350 and then bake for 20 minutes.

- Eating them warm out of the oven is a true luxury. Bon appétit!


What temperature is needed in Step 24? The recipe sounds great and the photographs are a huge help!
The oven is turned completely off and just retains the heat. Thanks for stopping by and I hope you enjoy the recipe. 🙂
Yum! Yes, saw this on Instagram and just sent it to my culinary student daughter. Hope she makes them soon. 🙂
She probably has many insights into an expertbake. 🙂 Thank you for sharing.
Can’t wait to try this recipe. Thanks for the pictures along the way too.
My pleasure! May your croissants be buttery and delicious! 🙂
Oh my gosh, thank you for this recipe! I am so excited to try them!!!
You are very welcome! I think you’re going to love them! 🙂
So yummy! When I learned I had celiac back in 2012, the only food I truly missed was croissants, which were virtually impossible to find in a gluten free version. Thankfully, since then I have found a European company that makes a lovely gf version, and I have found two recipes that work beautifully to make gf croissants. They are definitely time and labor intensive, but oh so worth it! Yours look like they turned out beautifully!
So happy to hear you have found a gluten free recipe!
Should it be “rolling” vs “roll ping” in instruction 23?
The croissants look delicious! I really need to try making them one of these days. I like that you made two kinds. I’m surprised that one of them wasn’t a ham and Swiss version, as it seems very French. For my future second choice, I’m thinking it will likely be a spinach and cheese. It’s my favorite variety at the bakery. I just made some Hot Cross Buns for Good Friday, and I’ll be making a Hoska tomorrow, and some rolls Easter morning–so this isn’t the week I’ll be making the croissants–but maybe for Bastille Day in July…hmmm
Just a thought for your recipe, perhaps if you were to shape the butter into a rectangle half the length and two inches less than the width of your dough, it would chill faster and more evenly, and it would be very easy to wrap the dough around it. I’ve seen it done by chefs on TV and it just makes more sense to me–nods and all to Julia… Also, I freeze bakery items on a sheet in the open, then when frozen, transfer them to a zip-lock freezer bag, removing as much air as I can for less freezer burn. The same with shaped cookie dough. It works really well and I end up with fewer misshapen bits. Best wishes.
This recipe is amazing! I have a question though! The croissants that I’m freezing, when I decide to take them out for baking do I need to let them come to room temperature first? Or proof then? Or can I just put them right in the preheated oven and bake? Thanks!
Great question. Jump right back into the recipe, but add a defrost session for a few hours (or overnight) in the refrigerator. So take out of the freezer, thaw in refrigerator and then proof in the oven for 3 hours per the recipe. Then enjoy the buttery goodness!!
The proofing process was kind of a disaster for me. 🙁 Rather than rising, they just kind of melted. Any tips? I think I’ll try proofing in a barely warm oven next time.
Amanda, a couple things to check – the actual heat/temp of your oven. If it isn’t a proofing oven (as my is not either), then sometimes they will proof quicker than three hours as the oven won’t go to the desired 80-90 degrees. In such a case, remove them when they are a bit larger – a 1/4-1/3 larger – and begin the baking process earlier. They don’t get overwhelmingly large in the proofing process. Either way, large or small, they are going to taste phenomenal. Thank you for sharing how it went. I hope this helps somewhat.