Become a Member for as little as $4/mo and enjoy unlimited reading of TSLL blog.
When planning any dinner party menu, having the date set, the guests confirmed, I like to give myself about two or three weeks to dream up the menu, to feel my way through my favorite recipes as well as which recipe will be the new one I will try (as I only try to include one each meal at a dinner party). During this time, I have space to let new ideas come to the forefront. One such new idea was a recipe shared by David Lebovitz earlier in May from a cookbook written and shared by French chef Bernard Pacaud full of recipes from his Parisian restaurant L’Ambroisie. And now the cookbook is quite hard to find (and when you do, you will be paying well over $1000). Soooooo, I thought I should give this recipe a try as Chef Pacaud has earned three Michelin stars, clearly an expert at his craft in the kitchen.
On the restaurant L’Ambroisie’s homepage, Chef Pacaud’s quote holds the focal point – “Cuisine de civilité, Quêter le beau produit. Cuisiner sans afféterie. Offrir le meilleur, simplement. (English translation – “Kitchen of civility, Quest for the beautiful product. Cook without pretense. Simply offer the best.”) And if you were to order this dessert (which you absolutely can), you would find the tarte fine sablée au cacao amer, with crème glacée à la vanille Bourbon for €36.

Today, since we cannot be in Paris for dîner and dessert, let’s make it in a tartlet size, shall we?
The full 5-course menu I decided upon for my recent dinner party, concluding with this tartlet, is shared in June’s A Cuppa Moments video chat (check it out here).
Rest assured, you can do this. It is not difficult, and it is all about using high quality ingredients from the chocolate to the flour to the butter and even the eggs (each adhering to what Pacaud’s quote above declares). So gather up the ingredients and let’s step into the kitchen.

KEY DETAILS TO REMEMBER:
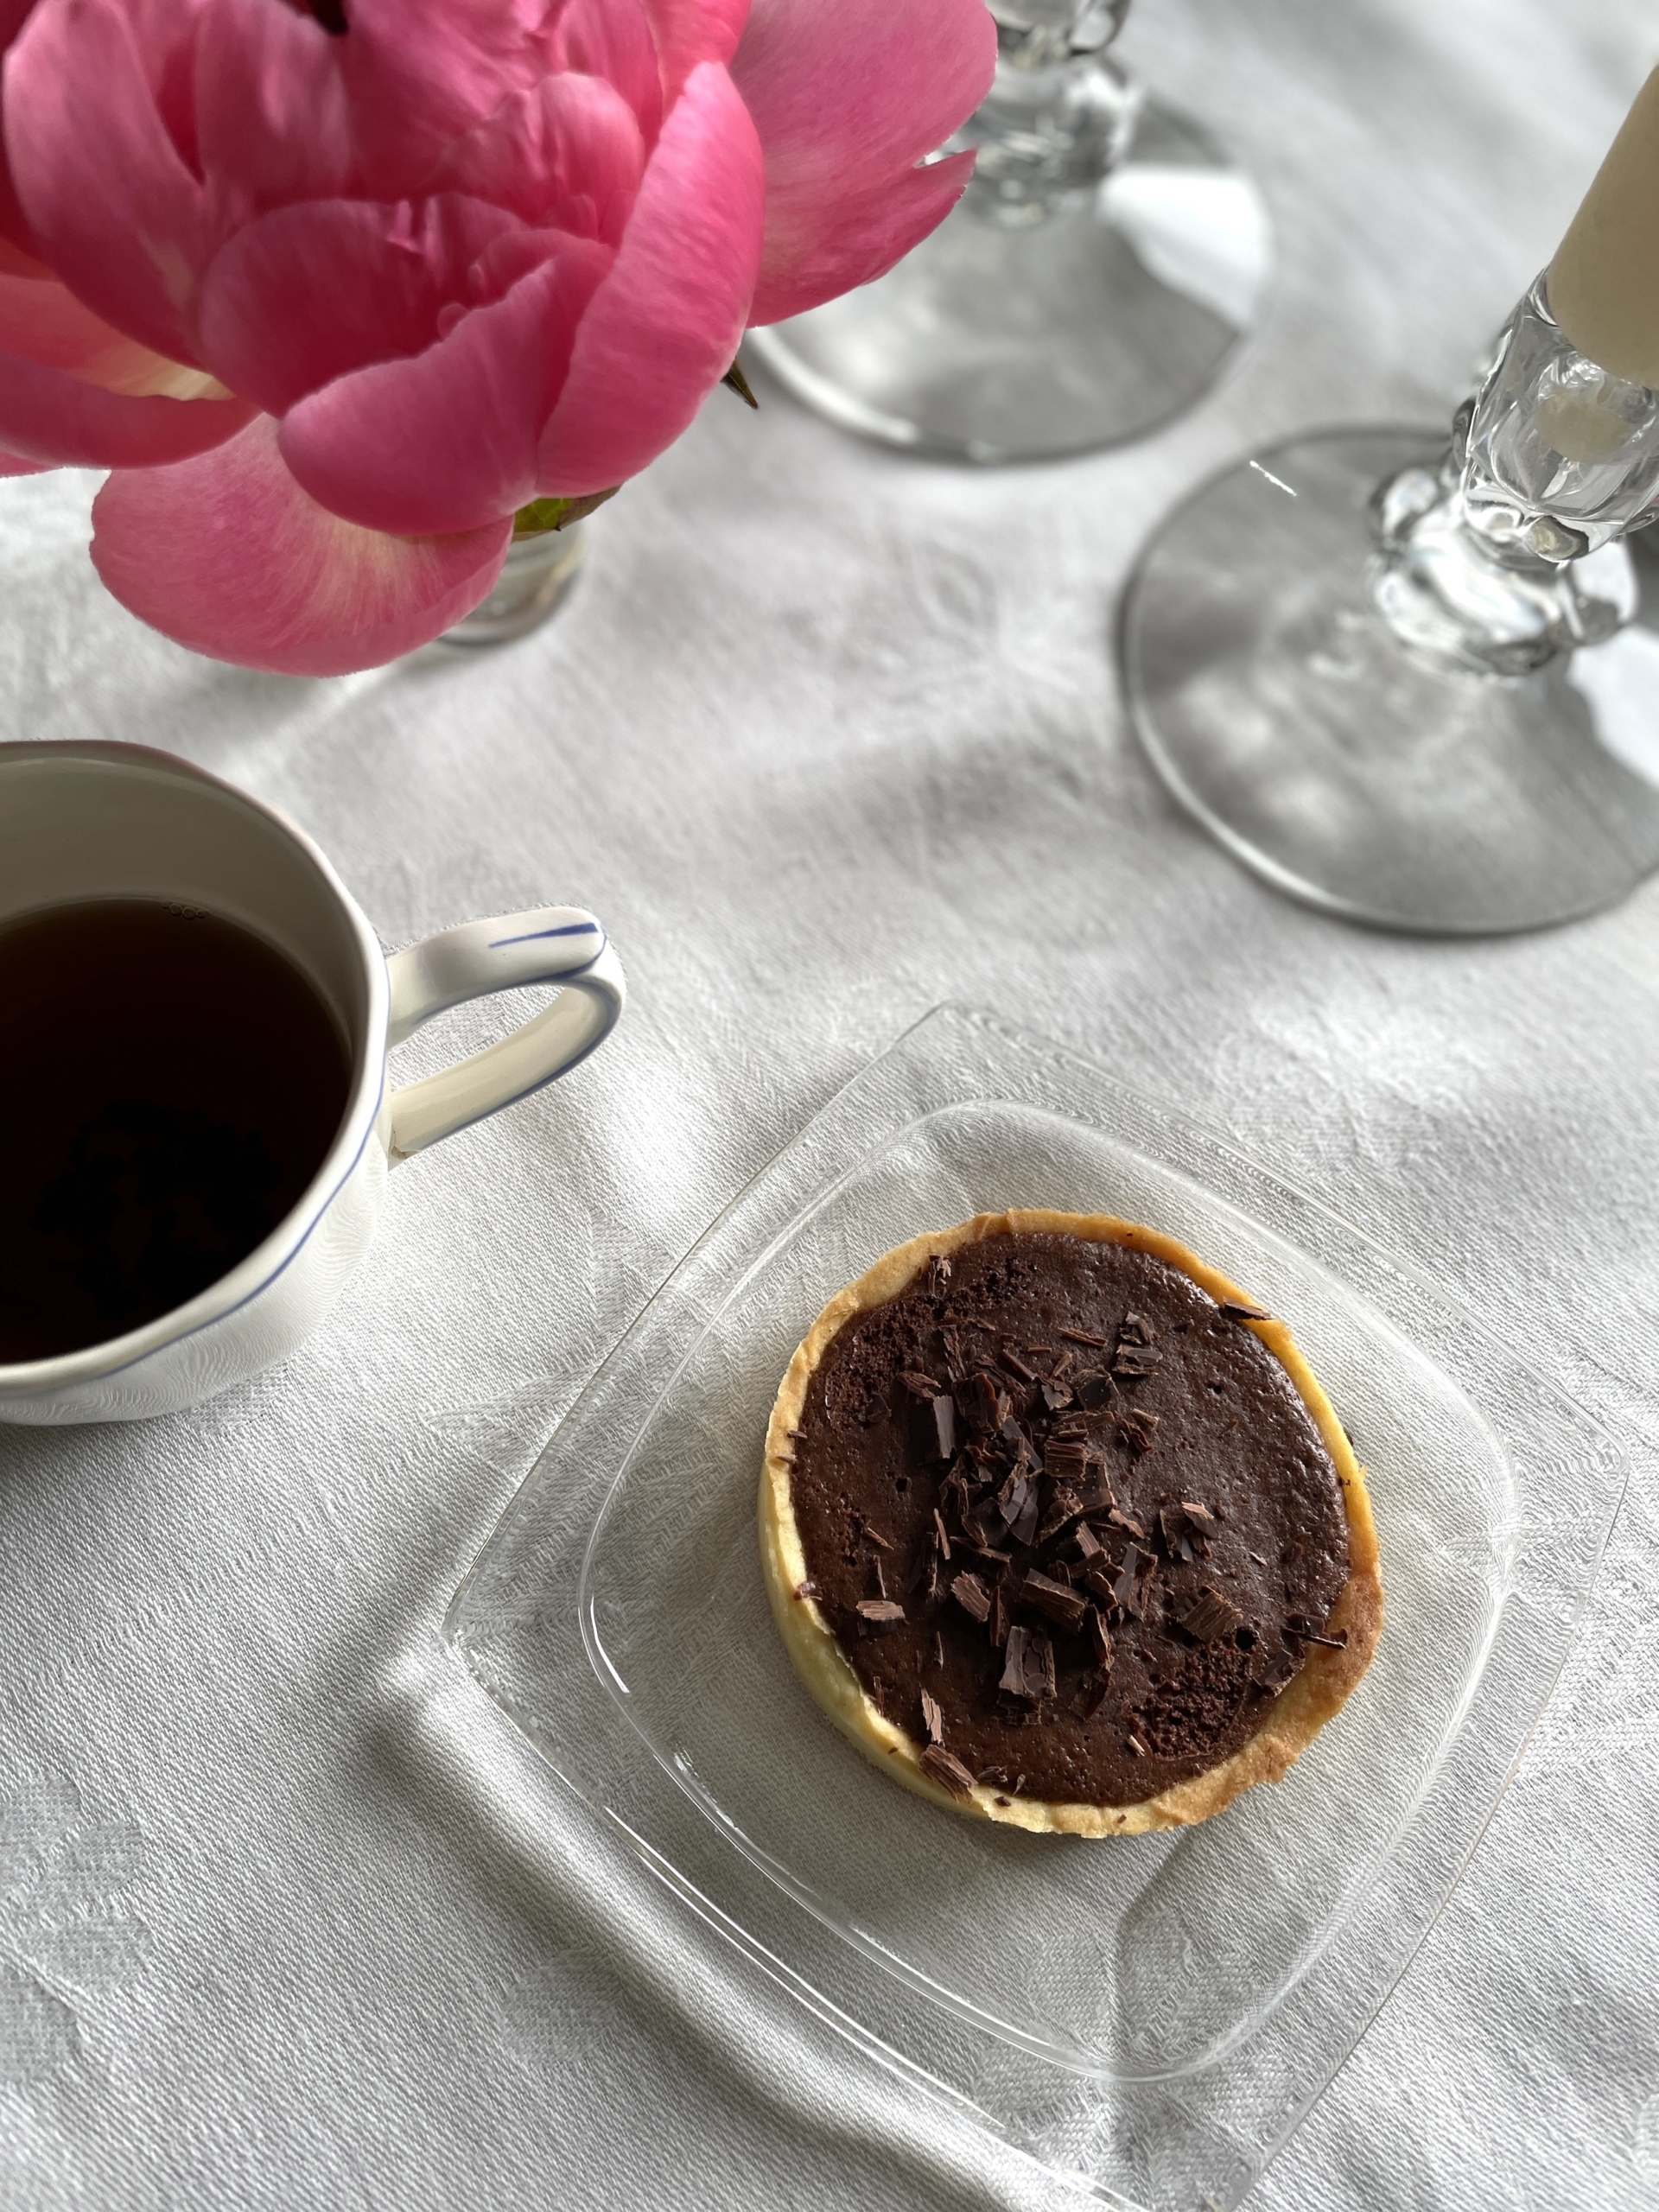
- There is no need to keep the finished baked tarts in the fridge just prior to serving. In fact, let them reach room temperature so that the chocolate consistency is creamy and the sablée is easy to cut through with a fork.
- Your eyes will roll back in your head with each bite. Let them roll and savor, savor, savor.
- Don’t over bake the crust. Be willing to check the crust as it blind bakes as every oven is different. My bake times work for my oven.
- Try this recipe – your guests and your tastebuds will thank you.


Tartlet Sablée au Chocolat
Equipment
- 8 4" tart rings Choose the diameter you prefer. Removal bottom tart pans work as well.
Ingredients
Sablée Dough
- 100 g unsalted butter, high quality (3 1/2 oz) room temperature, roughly chopped
- 75 g sugar (6 Tbsp)
- pinch fleur de sel
- 1 egg large room temperature
- 170 g flour (1 cup, 3 Tbsp) Bob's Redmill Pastry Flour
Chocolate Filling
- 300 g bittersweet dark chocolate (70% cacao at least). 10.5 oz find high quality chocolate, I use Scharffen Berger
- 200 g unsalted butter, rough pieces (7 oz)
- 60 g sugar (5 Tbsp)
- 2 eggs large room temperature
- 4 egg yolks large room temperature
Instructions
Dough/Pastry Crust
- Combine until almost smooth and all combined the butter, sugar and salt at a low-medium speed in a stand mixer or in a mixing bowl with a hand-mixer. Add the egg and combine.
- Begin to slowly add the flour with the mixer at a slow speed. Once combined, remove the dough that should be a solid ball of dough. Flatten to a disk shape and wrap in plastic wrap, placing into the refrigerator for at least 30 minutes.
- Depending upon the size of your tart rings/pans (I used 4" diameter rings), cut the dough into as many pieces of dough as you have tart pans/rings. Underestimate (I began with four separate pieces, and ended up with eight) as you will simply combine all of the leftover dough to roll out again for an additional tart.
- Roll out each piece of dough on a floured and sugared surface until 1 1/2" wider in diameter than your tart ring/pan. Keep fairly then, but thick enough to be pliable. When rolled out to the width and thickness you prefer, place over the top of the tart ring and gently, nudge down into the sides. Roll your rolling pin over the top to remove the excess dough. Continue this process until all tart rings/ pans are full. Place finished tart dough in the rings on top of a parchment-lined baking sheet.
- Place all pans/rings of dough into the freezer for 30 minutes to chill. You can chill for a longer period of time, but if doing so, wrap with plastic wrap, otherwise, you do not need to.
- Preheat the oven to 375 Fahrenheit (190 Celsius). Place parchment paper on top of all of the tart dough rings/pans and then pour in beans or pie weights to keep the dough in place. Bake for about 12 minutes (check from time to time). A full size tart crust would bake for 20 minutes. You are looking for the bottom of each tart crust to look cooked so the sides stay up on their own. Remove the parchment and beans/weights and cook for about 5 minutes more. You don't want to over bake the tart sides, as the tart crust will bake one more time with the filling.
- Remove from the oven once done baking and set aside to cool. Keep the rings/pan in place. You are not quite done yet. 🙂
The Chocolate Filling
- Reduce the heat of the oven to 350 degrees Fahrenheit (180 degrees Celsius).
- Make the filling while the dough is baking if you can, but you can do this also when the crusts are cooling.
- Using a double boiler or simply a sauce pan with about 1-2 inches of water, in the latter scenario place on top of the sauce pan a mixing bowl that can nest into the sauce pan. Place the chocolate and butter and turn the burner to medium heat so the water in the sauce pan begins to simmer. Stir with a spatula the two ingredients until they are combined. You should see a beautiful chocolate that shines brilliantly. Don't over cook, just until combined. You can even remove from the heat once nearly all of the chocolate has melted as the residual heat will continue to melt the chocolate until it is smooth.
- In a mixing bowl with a hand mixer at high speed mix the egg, egg yolks and sugar until it has the consistency of mousse and is quite thick. This will take about 4-5 minutes.
- Gently fold in the egg mixture into the chocolate. Add a little bit at a time. This does not have to be entirely combined, just until any glaringly obvious streaks are visible as you want to keep as much air as possible in the mixture.
- Pour the chocolate filling into each tart shell, as close to the top of the crust as you would like as it will not grow or rise, but rather simply set when in the oven. My 4" tart rings baked for 7 minutes (the large tart pan would bake for 12 minutes). David Lebovitz advises to err on the side of underbaking and I absolutely agree. The center will still move, but also be somewhat set. This is the perfect combination.
- Before removing the rings or the tart pan, let the tarts cool completely. Once cooled and pans removed, add chocolate shavings to the top of your tarts and if serving later that day, leave out at room temperature (you may want to cover them with plastic wrap or something similar). If you will be serving them the next day, place in the refrigerator, but be sure to remove 1-2 hours before serving so that the crust is not too hard.
- Serving on its own is like eating a delicious, decadent chocolate cookie – the crunch of the sablée, the creaminess of the chocolate – so good. However don't hesitate to add a vanilla gelato or ice cream or Chantilly cream.


Explore more TSLL Recipes


Love a decadent chocolate dessert especially after cheese. Perfect end to a meal. Looks very moreish Shannon .Kameela xx
My word! These decadent little treats are just perfect for a dinner party. I am sure your guests were feeling very special to have been presented with this for dessert. I am first going to test the pastry, I am not the best with pastry! I also just remembered that I have an electric (Breville I think) tart maker. It is a little tricky to use, it gets very hot. If that doesn’t work I have oodles of rings that I use to make English Muffins. Oh and little tart pans too. My MIL was the family baker, she had everything thing you can think of and she gave it all to me! Thank you for sharing this recipe. I have an event coming up in late July and I would like to have these for my special guests.
Lovely! This is an interesting twist: a Pâte Sablée that does not start by the flour+butter “crumbs”. Have to try this. Adding it to my “Chocolate Collection”. Thank you, Shannon! 🙂
Yum, yum, yum! I cannot wait to try this recipe. Thank you for sharing
Sarah
Sarah, I think you will quite enjoy this one. It will have you dreaming of Paris. 🙂